Category: Living Life

Unleash your potential with transformative tips and strategies that will elevate every facet of your life. From boosting your fitness and enhancing your health to revamping your home, mastering your finances, and embracing your beauty — the possibilities are limitless! Get ready to embark on an exhilarating journey and start living your best life today!

  • Should Men Use Beard Oil?

    Should Men Use Beard Oil?

    .facial hair grooming with beard oil

    Beards are becoming very popular these days, and it doesn’t look like this trend is going away anytime soon. This has made beard oil a thing.

    With more male celebrities sporting facial hair, the odds that many gents are considering growing one are pretty high. After all, who doesn’t want to get the kind of attention a celebrity gets?

    Therefore, even if your husband, son, or father does not have a beard yet, it is highly likely that they will want one soon.

    [click_to_tweet tweet=”Don’t let the name fool you, beard oil is for the skin under your stubble too. Learn why men everywhere have started using it! #beardlife #beardoil ” quote=”Don’t let the name fool you, beard oil is for the skin under your stubble too. Learn why men everywhere have started using it! “]

    As beards become more prominent, products associated with the proper care of facial hair are also becoming more popular. For example, beard oil is now a highly sought-after item, and it makes the perfect beard enthusiast’s gift for Father’s Day or any other special occasion.

    With beard oil’s popularity rising, it is a good idea to become familiar with exactly what it is and why men everywhere have begun using it.

    The What and Whys of Beard Oil


    Beard oil is specifically designed to benefit the facial hair and skin of men who enjoy growing and cultivating a nice-looking beard.

    Good beard oil is a combination of natural ingredients that not only go to work developing a healthy beard but also help to give a man’s beard some character, as well.

    It is applied daily by hand to the beard and the surrounding skin. Contrary to popular belief, it does not add a glistening effect to a beard that makes it constantly look wet.

    The truth is that beard oil actually makes a beard look healthier and feel more comfortable to the man wearing it. This also offers benefits to the woman in his life.

    Soft to the Touch


    As we move onto the whys of beard oil, we are reminded that beard hair is not quite the same as the hair on a man’s head. Beard follicles tend to grow thicker than head hair, and they can also be shaped differently.

    The hair on a man’s head may be straight, but his beard hair could turn out to be curly. This is the reason that beard oil is required to keep a man’s beard looking its best.

    Beard oil has ingredients that make a beard soft to the touch and easy to manage.

    Combining the once-daily usage of beard oil with occasional beard combing will deliver amazingly soft results. This will make the facial hair feel really nice when you run your fingers through it.

    That Special Scent


    When some people choose shampoo, they do so because of the scent it leaves in the hair.

    You can buy unscented beard oil, but there are also several manly scents such as pine forest and cedar mill that will make any man’s beard smell wonderful.

    This could even be the perfect replacement for aftershave lotion or cologne. So, it is possible to smell your best and improve your grooming habits with just one item.

    Softens the Skin

    One of the main reasons some men don’t grow a beard is because facial hair can irritate their skin. However, when a man uses beard oil from the beginning of the growing process, the oil’s moisturizers will keep their skin soft and prevent itching.

    Even when the beard is at its full glory, using beard oil daily will ensure you are comfortable all day long.

    In other words, you will feel better throughout the day. Plus, it will also be much more pleasant when your beard touches your partner’s face.

    As beards become more popular, products such as beard oil make the process of growing and maintaining a beard easier. Any man who either has a beard or plans on developing one needs to check out the various beard oil solutions.

    Are you a facial hair fan?

  • Painting a Mario Mural on your Kid’s Bedroom Walls

    Painting a Mario Mural on your Kid’s Bedroom Walls

    Painting a Mario Mural on your Kid's Bedroom Walls

    I have been a fan of  Super Mario Bros for over 30 years. So you better believe when my oldest son told us he wanted us to redo his room in a Mario theme, I was completely gung ho for it. A Mario mural was in our future.

    My wife just wanted to slap up some Mario decals around his room (in a nice fashion, of course), but I had a much larger project in mind.

    I decided to paint the entire first world (1-1) of Super Mario Bros. on my son’s walls. To be honest, I had some doubts about how well this would turn out, but it came out amazing! 

    Do you want to create a unique Super Mario Bros. Mural on your kid’s walls? Here’s how…

    [click_to_tweet tweet=”Tackle a fun DIY project and paint a Super Mario Bros mural on your child’s bedroom walls. Trust us, they will remember this room forever! #supermariobros #wallmural” quote=”Tackle a fun DIY project and paint a Super Mario Bros mural on your child’s bedroom walls. Trust us, they will remember this room forever! “]

    Determining the Scale of Your Mario Mural

    mario

    Measure the total wall space you will be working with (excluding doors, windows, etc.). Make sure all of the measurements are in inches.

    Choose the world that you would like to replicate on your walls. We chose Super Mario Bros. World 1-1.

    Then, count the total number of blocks that make up the world, including pitfalls. The easiest way to do this is to count the ground bricks because they span nearly the entire world.

    To determine the width of the pitfalls, I used Microsoft Paint to cut out a ground brick and overlay it on a pitfall to see how many blocks worth a pitfall was. One pitfall equals two ground blocks. World 1-1 had 210 blocks, including pitfalls.

    To determine the scale that you will be using, divide the total number of inches of wall space (step 1) by the total number of blocks (step 3). My scale turned out to be 2.41 inches which would have made painting some of the world’s details extremely hard.

    To increase the scale to something more appropriate (while in Microsoft Paint), I looked for spaces in the world where I could remove ground bricks without affecting the integrity of the original image.

    I decided that I wanted to make my scale roughly 3 inches, so I removed around 41 blocks to accomplish this. 

    Removing these blocks allowed me to go from a 2.41-inch scale to a 3-inch scale. This was perfect for me, but you can tweak this to your own needs.

    Creating the Mario Mural Stencils

    mario

    Look at the original image and determine what stencils you need to create. For example, I made stencils for hills, clouds, bricks, pipes, mushrooms, the turtle, castle, bushes, goombas…in other words, for pretty much everything.

    After identifying all of the items, I needed to make stencils for, I determined that the single ground brick would be my basic comparing tool. I used Microsoft Paint to cut out one of the ground bricks.

    Since each ground brick was going to be 3 inches wide by 3 inches tall, I was able to determine the size of the other items I needed to make stencils for.

    For example, I determined that the small pipe was two ground bricks wide by two ground bricks tall. This meant that the Small Pipe was 6 inches by 6 inches. Do this for all of the items you need to create a stencil for.

    Create a grid on a piece of poster board. To do this, I pulled up a single ground brick in Microsoft Paint and expanded it to 3 inches by 3 inches when holding a ruler up to the computer screen. 

    Once I enlarged the image in Paint, I easily saw that a ground brick was made up of a 16 x 16 grid. I put my ruler up to the screen and measured the distance for each grid block to determine the size of my gridlines on the poster board.

    This grid allowed me to easily draw all the shapes and items needed to create Super Mario Bros. World 1-1

    Picking the Paint Colors for Your Mario Bros Wall Mural

    mario walls

    We printed enlarged portions a high-quality image of World 1-1 and matched them to paint samples at Wal-Mart. 

    I purchased all of the paints we used at Wal-Mart. We used the Color Place brand (for most of the paint) of flat paint because it was the cheapest per gallon.

    It might not be the best quality, but we did not have the money to spend on top-quality paint, especially when we had to buy gallons and gallons of paint. I think the paint we used turned out just fine!

    If you want to use the exact paint colors we did, here are the paint codes you can take into Wal-Mart to achieve them.

    Black: Basic Premixed Flat Black

    Dark Green

    1. KX 1Y 16
    2. AXX 9Y 15
    3. D 27 ½
    4. E 38

    White: Basic Premixed Flat White

    Brown: “Orange Sienna” Better Homes and Garden’s Interior Flat

    Highlight White: “Flowering Baby’s Breath”

    1. C 2
    2. L 6
    3. R 4

    Orange: “True Royal Love”

    1. KX 3Y 24 ½
    2. AXX 7Y 19
    3. L 15
    4. V 37

    Light Green

    1. KX 3Y 33
    2. AXX 7Y 30 ½
    3. D 11 ½
    4. E 20 ½

    Gold

    1. KX 1Y 14 ½
    2. R 37
    3. T 9Y 44 ½

    Sky Blue: “Blue Sausalito Bay”

    1. B 22
    2. D 2
    3. E 2Y 38

    Red: Sorry, for some reason, we don’t have a name or color code for the red paint.

    Painting a Mario Bros Wall Mural


    Painting has to be the most fun part of this project other than seeing the finished product. 

    Mario Wall Mural Height

    mario

    The first thing you need to do is determine how high on the wall you need to start the mural to keep the proportions.

    I took my basic block and determined how many blocks high the world was. I determined that it would be about 12 blocks high or about 6 feet.

    In the room that I was painting, the walls were 9 feet high, so I started my ground bricks about 3 feet from the ground.

    Next, I measured around the room, making marks 3 and 4 feet off the ground. I used a chalk line to make straight lines at the three and 4-foot marks.

    I then put painter’s tape right above the 3-foot line and just below the 4-foot line around the entire room. All of the areas above the 4-foot line were painted sky blue, and the area below the 3-foot line was painted black.

    Note: You don’t have to paint the bottom half of the room black if you don’t want to. We choose black to make the rest of the world pop.

    After the black and the sky blue areas dried, I then placed painter’s tape just below the 3-foot line and just above the 4-foot line. I then painted the space in between this tape brown.

    Once the brown area dried, I covered all of it with painter’s tape. After covering the brown area with tape, I begin to draw out the squares for the ground bricks.

    Outlining and Using the Mario Bros Wall Stencils

    mario mural

    Using my ground brick stencil, I placed it on top of the painter’s tape and traced it around the outside. I repeated this step until I created the outline of all of the ground bricks on the tape.

    Next, I started to plan where I would place all of the other elements of the world. Looking at my original picture and using the ground blocks as a guide, I started to put the elements that appeared in the sky blue area first, but you may start wherever you like.

    After locating the general area for an element, I would cover that small area with painter’s tape and trace the outline of each item on the painter’s tape.

    mario wall

    Then I cut off one part of the stencil and went around to every block where that item would be placed to trace the element’s new piece. After I updated all of the elements on the wall, I then cut out a little more of the shape and traced that part onto the proper area on the wall.

    I continued with this process until I went through all of the stencils and copied them onto their proper spot on the wall. This resulted in all of the stencils being drawn on the painter’s tape.

    Painting the Other Elements in Your Mario Mural

    mario room

    The next step is to start painting each of the elements on the wall. I picked an element and found the innermost section of the drawing. I used a razor knife to cut out this shape and remove the tape exposing the wall.

    Then I painted the proper color on the newly exposed wall. Work your way around the room exposing one piece of each element at a time, and then paint it.

    Warning: You will be finding bits of painter’s tape for a long time and throughout your house. It gets stuck to socks and whatnot.

    Once the paint dries, you can start removing the next portion of the tape using a razor knife and start painting it. You will remove the tape and start painting from the inside out of every element until you complete all the details to finish the mural.

    Final Touches to Complete Your Mario Bros Bedroom

    mario room

    Once the room was complete, I added some finishing touches like a Mario lamp, bedding, Mario figures, and pops of green.

    We painted some old shelves and dressers the same color as the small and large bushes that are in the mural, bought green valances, and even got my son a big green fuzzy pillow (he loves soft things) so that the green would be his room’s accent color.

    This whole process took about four months to do, so it is not a quick project by any means. Granted, this was painted after work and on weekends only. The result was more than worth it, though!

    How do you have your child’s room decorated?

  • What to Look for in a Travel Laptop Backpack

    What to Look for in a Travel Laptop Backpack

    This laptop backpack post was created in partnership with Shieldon. I was not financially compensated for this post but did receive a sample for review purposes. As always, all opinions are entirely my own. Thank you for supporting the brands that support me!

    Choosing the correct travel computer backpack is an important part of preparing for your journey. Whether you are traveling for work or for play, choosing the right travel backpack can make your trip less stressful.

    You may think that sounds overly dramatic but think about it. If you choose a backpack that is too big, you can easily have a pack that is too heavy to comfortably carry, or they could refuse to allow you to bring it onto the plane.

    On the other hand, if you choose a backpack that is too small, you may not have enough room for your stuff! If you are planning a trip and trying to figure out what to look for in a travel laptop bag, look no further than this handy guide that I have created for you.

    What to look for in a Computer Business Backpack

    What to Look for in a Travel Laptop Backpack

    There are many laptop backpacks out there to choose from, and it can be very overwhelming to figure out which one will work best for you. That’s why I am going to save you the time and the frustration of figuring it out and give you some tips on what to look for in a travel backpack so it’s an easier process.

    Good Quality, Weather Resistant Material

    Be sure to choose a backpack that is made from good quality, weather-resistant material. You never know what will happen while you are traveling.

    If you get caught in the rain, you don’t want all of your stuff to get soaked! Choose a good quality material that is at least water-resistant.

    I recommend a backpack made out of a heavyweight polyester fabric like Oxford cloth, as it works well. It’s resistant to scratches and will protect your laptop from rain, snow, dirt, ect.

    Sufficient Compartments

    Make sure that the backpack you choose has sufficient compartments for everything you need to carry.

    We’ve been loving the spacious compartments of the SHIELDON Travel Laptop Backpack. It has two small front pockets, a large main compartment, a medium-sized compartment, and a padded laptop section that can fit a 17.3″ laptop.

    One of the small front pockets also features two interior pockets along with a key clip while the laptop area also has a space for a tablet and boasts two other interior pockets. Plus, the main compartment has an interior pocket specifically meant for a power bank! 

    Then for even more organization and safety, it also has a back zipper pocket that doubles as a handy luggage strap as well as a mesh and a deep zippered pocket on each side.

    Sturdy, Lockable Zippers

    No one wants to find that they have been the victim of theft.

    That’s why you should always be sure that your travel backpack has thick lockable zippers that you can attach a TSA approved lock to prevent anyone from getting into your bag while you are busy checking in or when you accidentally leave your bag alone at any point during your trip.

    Charging Capabilities

    What to Look for in a Travel Laptop Backpack

    In today’s tech age, having the ability to charge electronic devices on the go is a must.

    The SHIELDON Laptop Backpack features a useful external USB charging port with a built-in charging cable. This way you can easily hook up your power bank and be able to charge your smartphone while traveling. 

    Comfortable Straps


    What to Look for in a Travel Laptop Backpack

    Be sure that the shoulder and waist straps are cushioned, comfortable, and adjustable to fit your body type well. Depending on your schedule, you may be spending a lot of time carrying this backpack. So, you need to make sure it’s comfortable!

    Additionally, make sure the back of the backpack is padded. If you can constantly feel the items pressing against your back as you walk, it will get uncomfortable.

    The SHIELDON Travel Backpack features a heavily padded back as well as its straps. Heck, even its top handle is cushioned! 

    Large Front-Zip Compartment

    What to Look for in a Travel Laptop Backpack

    I once bought a great backpack that checked all of the needs off the list only to discover once it arrived that the large zipper opening wasn’t very large and it opened closer to the back compartment of the backpack. This was horrible because it significantly reduced how much stuff I could fit into it and it was awkward to reach in and out, especially with larger items like my laptop and shoes.

    With the SHIELDON Laptop Backpack, the laptop compartment opens a full 180 degrees while the main compartment opens into a large space as well.

    Quality Stitching

    As someone who has had a suitcase fall apart before, trust me when I say to pay close attention to the stitching. Low-quality stitching can easily come apart during rough travel or if it gets packed too tightly with your travel gear.

    [click_to_tweet tweet=”Your laptop sees a lot of handling while traveling — from TSA screenings to squeezing in a few minutes of work in the lounge, and so on. Here are some features a travel laptop backpack should have! #travelbackpack #LaptopBackpack ” quote=”Your laptop sees a lot of handling while traveling — from TSA screenings to squeezing in a few minutes of work in the lounge, and so on. Here are some features a travel laptop backpack should have! “]

    Cheapest isn’t Always the Best

    Okay, here’s the thing. I’m typically all about saving money, but this is one area that I don’t recommend skimping on. A good, quality backpack is necessary for all of the reasons listed above, and simply so you can feel secure knowing that your backpack isn’t going to rip or fall apart mid-trip.

    Each and every one of the features mentioned above are well worth paying money for. For a good quality travel backpack, you can expect to pay in the $100-$200 range. However, if you are looking to try something a little cheaper the SHIELDON Travel Backpack is a great quality for only $52.99!

    Yes, saving money is good, but I assure you, cheap is not what to look for in a laptop backpack. You will regret saving money if your pack falls apart, you will not regret paying for quality.

    Good luck, my traveling friends! I hope that this helps you buy the perfect laptop backpack and gets you safely on your adventures.

    What do you look for in a laptop case?

  • Easy Ways To Stop Computer Eye Strain

    Easy Ways To Stop Computer Eye Strain

    This computer eye strain post was created in partnership with Oiamik. I was not financially compensated for this post but did receive a sample for review purposes. As always, all opinions are entirely my own. Thank you for supporting the brands that support me!

    We have had a wild year, haven’t we? We have all been through countless changes in the last eight months, and one of the big changes is that many of us are spending our days at home staring at the computer screen. Whether you are working from home or your kids are going to school on their laptops at home, screens are all around us. For most of us, that means that our eyes are feeling the strain.

    Computer eye strain is a real thing, and recent studies have shown that it really does affect over half of the people who are routinely on their computers.

    Computer eye strain symptoms include eye discomfort, blurred vision, eye twitching, neck strain, eye fatigue, and eye redness. If you are looking for easy ways to stop computer eye strain, I have put together a little list for you!

    Easy Ways To Prevent Computer Eye Strain

    Of course, the easy ways to stop computer eye strain that we are listing out here won’t take the place of avoiding long screen times, but they will help.

    Get an Exam

    We all know how important it is to get an annual eye exam, but many of us aren’t quite aware of how much they help prevent eye strain. If your doctor knows how often you are on your computer and approximately how far away you sit from the screen, they can test you from the approximate distance and make recommendations to help prevent eye strain.

    Additionally, if you need glasses or need an upgrade in your prescription, that can add to your eyestrain as well. Regular eye exams can help to prevent this.

    Upgrade Your Monitor

    If your budget allows it, consider investing in a newer monitor. Newer monitors have anti-glare features and better lighting that are designed to cause you less eye strain. The more modern, flat-screen LED monitors are significantly better for your eyes than older box style monitors, and you will notice an almost instant improvement in your computer eye strain once you make the upgrade.

    Use Light Blocking Filters

    Easy Ways To Stop Computer Eye Strain

    I’m sure you’ve seen all of the advertisements for blue light blocking glasses. If you haven’t yet invested in a pair, you should consider it. My eye doctor recently recommended that I buy them since I spend so much time online.

    My Oiamik Blue Light Blocking Glasses look just like regular glasses; the lenses look completely clear. However, as soon as you put them on, you can see your world shift away from blue to an amber hue.

    Easy Ways To Stop Computer Eye Strain

    I love that these anti-blue light eyeglasses protect my eyes no matter what device I am using, whether smartphones, computers, tablets, or TV. Plus, they also protect my eyes from UV 400. This means that they provide nearly 100% UVA/UVB protection!

    The simple black square frames work for both men and women. We love wearing these glasses at night time to get ready for bed. Blue light is known to decrease melatonin levels, and we need to get a good night’s sleep every night!

    Alternatively, you can get a screen to cover your computer screen that blocks out the blue light as well.

    Use the Correct Lighting

    You are already dealing with your computer screen’s bright lights, don’t let the rest of your light affect your eyes too. Use lower watt bulbs and more ambient style light in your home while you are on the computer.

    [click_to_tweet tweet=”It seems everyone is staring at a computer screen, phone, or other digital devices these days. And it’s causing a serious problem called digital eye strain. Here are some way ways to prevent it! #eyehealth #screentime ” quote=”It seems everyone is staring at a computer screen, phone, or other digital devices these days. And it’s causing a serious problem called digital eye strain. Here are some way ways to prevent it!”]

    Take Breaks

    Take breaks away from your computer often. I know it is tempting to stay put to get your work done faster, but the reality is that breaks are good for your eyes and health in general. Aim to take at least one break (5-10 minutes) every hour.

    Blink

    Yes, something as simple as just blinking can help you stop computer eye strain. People who are busy staring at the computer screen, on average, blink only ⅓ as much as they typically do. This can cause dryness, irritation, and strain in the eyes.

    Adjust Your Screen

    Adjust your screen settings on your monitor. The changes in your screen settings can include brightness, contrast, color temperature, and font size. These changes can make a huge difference in your eye strain.

    Modify Your Workspace

    Even a small amount of modifications to your workspace can help prevent computer eye strain. Here are a few changes that have the potential to lessen your eye strain:

    • First and foremost, measure out your space. Make sure to position your monitor so that it sits 20 to 24 inches from your face so that your eyes don’t need to strain too far or focus too much if the screen is too close.

    • In case you have to often look between paper and your screen, be sure and place a stand adjacent to your computer monitor.

    • Use a low watt desk lamp for proper lighting.

    • Invest in an ergonomic chair. Poor chair posture can cause significant eye strain.

    As you can see, there are quite a few easy ways to stop computer eye strain that you can try.

    Let us know what tricks you have used to improve your computer eye strain below!

  • How to Increase the Value of Sports Memorabilia

    How to Increase the Value of Sports Memorabilia

    Sports Memorabilia

    Besides being a huge gaming fan, growing up in Central Kentucky means that I also have a love of College Basketball. The Kentucky Wildcats are the only team in town, and so that’s the sports memorabilia I collect.

    From the time I was about ten years old, I remember tuning in to watch every game that I could.  My first year really following the team was the 1991-1992 season. This was just removed from Kentucky coming off of NCAA sanctions.

    This also is one of the most haunting UK seasons ever thanks to Christian Laettner.  To this day, that shot is shown every year during the NCAA March Madness.

    It was just a few years later that Kentucky made one of its best 3-year runs in the NCAA tournament. In 1996 they won the national championship, were runner up in 1997, and again won the national championship in 1998.

    [click_to_tweet tweet=”Do you own an item used by an athlete or have his signature on something significant? It could increase the value of the memorabilia! #SportsMemorabilia #autograph” quote=”Do you own an item used by an athlete or have his signature on something significant? It could increase the value of the memorabilia!”]

    It wasn’t until 2012 when Anthony Davis won every award in college basketball and also won the National Championship.  That summer I learned that the players from that team were leaving the team to go to the NBA.

    Before that, however, they were traveling around the state and meeting with fans and signing autographs. This started my love of collecting UK memorabilia.

    I was able to get my UK polo shirt signed by all five players that started in the National Championship games.  Since then, I have been able to collect signatures from a majority of the players that have gone on to play in the NBA, including Karl Anthony Towns, Devin Booker, Tyler Herro, and many more.

    I have jerseys, posters, magazines, and basketballs that have been signed by many players.

    Collecting Sports Memorabilia


    Perhaps you already purchased some collectible sports memorabilia, buying it as an investment in the future. But now you are wondering what you can do to make it worth even more money.

    There is a super-easy way to increase the value so that you can sell it in ten years and make a profit. Investing in sports memorabilia is fun if you love sports, but it can also be lucrative, so you need to do everything in your power to earn from it.

    Get Signatures


    The best thing to do is to find the athlete who is connected to whatever memorabilia that you have.

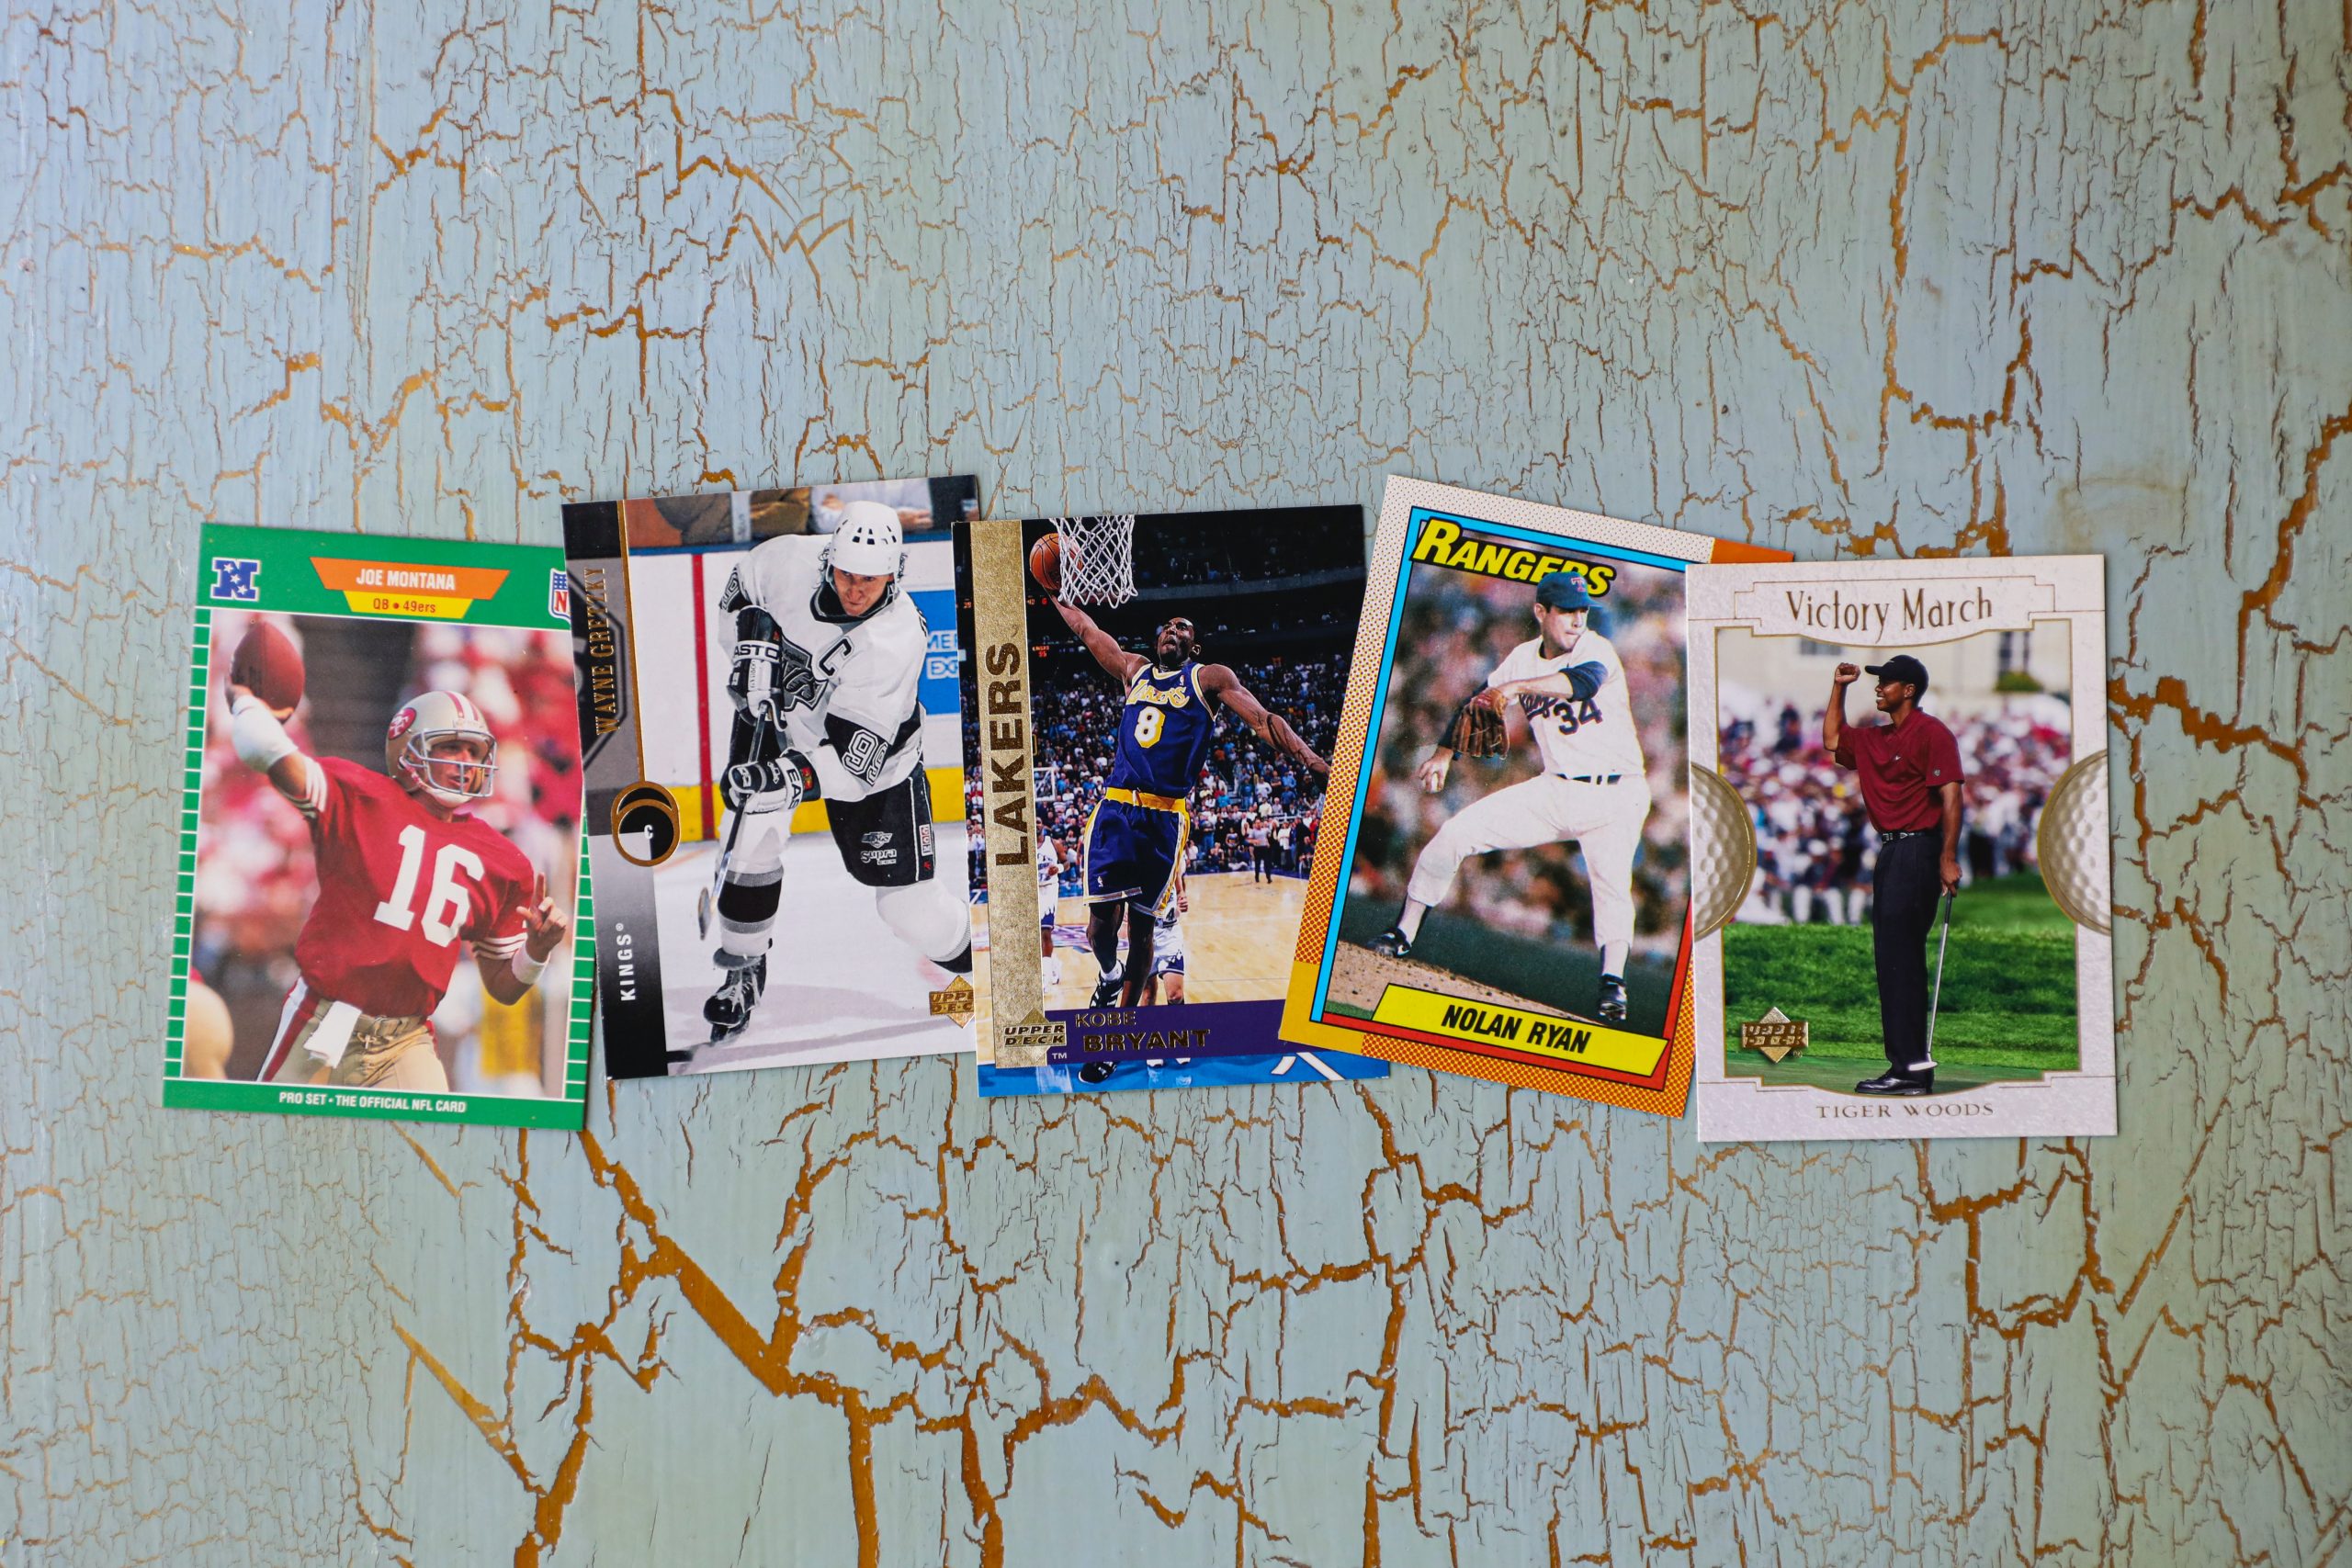
    For example, maybe you have a Wayne Gretzky rookie card from when he first came into the NHL. Perhaps you have a jersey that was worn by Brett Favre when he still played with the Packers and when he was a legend in Wisconsin.

    You could be a huge college basketball fan and have to deck out your game room in its memorabilia (like me). These items would be worth a lot more, especially those that make it to the NBA if they are signed.

    If you can find the star player your collectible features, you may be able to get them to sign the item for you. It might be worth a lot of money on its own, just think how much money it will be worth if they sign it.

    Know the Rules


    If you want to do this, make sure you find out if the person has any stipulations about signatures. Some players will only do it at games, for instance.

    Others might only do it for money at special signing events. Learn about this so that you can approach them in the right manner and get the autograph. Happy collecting!

    Do you collect anything?

  • 7 Easy Ways to Rejuvenate Your Garage

    7 Easy Ways to Rejuvenate Your Garage

    7 Easy Ways to Rejuvenate Your Garage

    You’ve spent hours toiling in your garage, but are you using your space as efficiently as possible? Here are just seven ways to remodel, revamp, and rejuvenate your workspace.

    1. Replace Your Garage Doors

    Are you still struggling with the garage doors that came with the house? Are they old, outdated, or supremely slow? Replace them with a sleek new model with contemporary features like wireless keypads and remote locking capabilities.

    We just built a house, and garage door openers were not included.

    Remember, if you have two separate garage doors, places like Lowes and Home Depot want to charge you around $120 for the installation per door on top of the price of each opener.

    Craziness!

    So keep that in mind when you are budging for them. My husband was not a happy camper when he found out.

    2. Install Cabinets

    Garage cabinets are a great way to get things off the floor. You can stick everything from tools to half-finished projects inside them, not only improving your workspace organization but also freeing up room to move.

    We saw some stock cabinets at Home Depot that we plan on putting in our garage one day. They are meant for a pantry usually, but we think two would go great in the garage for tools and whatnot. We are notorious for having a junked-up garage, but it stops now!

    3. Jazz Up Your Flooring

    Say goodbye to that stained concrete that makes the entire place look messy and unkempt. Install something like epoxy, tile, or limestone instead.

    You can even paint your floor with stripes or checkers to give it the feel of a real auto shop.

    4. Let There Be Light

    Florescent lights are critical to the modern garage, but did you know that you can save up to $100 a year by switching to compact fluorescent lights (CFLs)?

    They’ll shine just as brightly as your regular halogen bulbs, but they’re much more energy-efficient and cost-effective.

    5. Upgrade Your Workbench

    If your workbench doesn’t have wheels, it’s time to add them. If it doesn’t include built-in shelves and compartments for holding your tools when not in use, it’s time to look at models that do. Your workbench is the life and soul of your garage, so find something worthy of the title.

    Half of our garage will be used as a workshop. My husband is into woodworking these days with all my Pinterest finds. Against one wall, there will be the pantry-type cabinets on the ends of the rolling workbench we saw at Home Depot. We are at Home Depot A LOT these days if you can’t tell.

    6. Use Your Ceiling


    All kinds of things can be attached to your ceiling to help you organize your garage and free up floor space. For example, hooks can hang little baskets of nails, and steel bars can hold plastic bins full of holiday decorations and sports equipment.

    7. Write It Down

    Does your garage have an area where you can jot down ideas in the middle of a project? Most don’t, and the ideas of their owners are lost forever. Make it a point of installing a few whiteboards, chalkboards, or bulletin boards around your garage so inspiration never goes to waste. You can even make a chalkboard by spraying an old mirror with chalkboard paint.

    Bonus: Change Up the Walls

    Alright, so when it comes to garages, chances are, the last thing you’re thinking is making it appear aesthetically pleasing. Sure, minimizing clutter and making the garage organized can make it look fantastic, but it’s not really going to be enough.

    So, one of the best things you can consider is changing up the walls in a sort of way. This could be adding a nice peg board on top of your workbench, adding some shelving, or maybe even giving the walls a nice paint job.  

    But when it comes to rejuvenating your garage or your workshed in general, you don’t have to be limited to just adding some accessories or painting; you can even find out what the difference is between cedar and pine as you can even add these to your walls for a more unique and cozy feeling to the garage too. In general, you don’t have to settle for a boring garage; add what you want to the walls!

    These are just seven (well, eight) ways to revamp your musty garage. From spotless floors to effortless organization, you won’t even recognize your man cave after you’ve taken all these tips to heart.