Unleash your potential with transformative tips and strategies that will elevate every facet of your life. From boosting your fitness and enhancing your health to revamping your home, mastering your finances, and embracing your beauty — the possibilities are limitless! Get ready to embark on an exhilarating journey and start living your best life today!
If you’re like most men, your grooming routine probably consists of just a quick wash and maybe some deodorant. And even if you do care about how you look, it’s not always easy to find the time or motivation to take better care of yourself. But with these tips on hair and beard maintenance, that doesn’t have to be the case!
This guide will have you looking sharp in no time, from tips on how to wash your hair, what products you should use, and the beard care basics every man needs to know.
[click_to_tweet tweet=”Make sure you care for your beard and hair well with these tips on how to properly clean, groom, and style them! #Grooming #MensGrooming ” quote=”Make sure you care for your beard and hair well with these tips on how to properly clean, groom, and style them! “]
How to Wash Your Hair with the Correct Products
Washing your hair is something you’re probably pretty used to. You hop in the shower, lather up with some shampoo and spend a couple of minutes scrubbing your scalp before rinsing it all out.
That’s not exactly wrong, but there are definitely better ways to clean your locks that will ensure you’re getting rid of dirt and oil without over-drying or damaging your locks.
Starting with the correct products can make all the difference in how clean your mane actually gets. Try to use shampoos that are SLS-free, as they can strip natural oils.
Conditioner is also key if you have dry or damaged hair; it locks in moisture so even when the shampoo strips out dirt and oil, your hair won’t be left feeling brittle or frizzy.
Beard Care Basics
A beard is a symbol of masculinity and pride.
Beard care involves much more than simply shaving it off or letting it grow. Men need to know how to properly take care of their facial hair to maintain the look they want while still appearing well-groomed.
Wash Your Face and Beard
To start with, men should shower before they start messing around with facial hair; however, if you can’t shower, start by washing your face.
Do you have beard dandruff? Beard dandruff is usually caused by dry skin and can often benefit from a good exfoliation before showering.
If you have beard dandruff or are just looking to improve the quality of your facial hair, men should start using a high-quality shampoo and conditioner specially formulated for men’s beards.
Hydrate Your Beard and Skin
Next, men need to choose beard oil and shaving cream. Oil helps keep skin moisturized while the cream prevents ingrown hairs and razor burn for those who use them as it forms a protective barrier between your face and blade or shaver.
Style Your Beard
Men who still want to grow their facial hair but still want to keep it well-groomed should consider using a beard brush. This will help train the hair and spread natural oils that promote healthy growth.
Men with longer facial hair or those who like long beards can use waxes and butter to style their facial hair as they see fit for whatever look they prefer.
As you can see, there are plenty of ways to be a well-groomed man. Whether it’s with your hair or beard, the key is finding what works for you and then sticking with that routine!
Do you have any grooming tips for teenage guys that you can share with us?
Working from home is a huge adjustment and can be hard for those who used to work in an office all day. It’s challenging to find the right space in your home where you can work uninterrupted. But now that work and home are basically the same things, we also need to step away from our workspace and take care of ourselves. If you work from home, it can be difficult to maintain your mental health. Fortunately, we can take steps to improve our mood and stay healthy while working remotely.
[click_to_tweet tweet=”Don’t let working from home make you crazy. Try these mental health tips to help you stay healthy while working at home and avoid burnout! #workingathome #mentalhealth” quote=”Don’t let working from home make you crazy. Try these mental health tips to help you stay healthy while working at home and avoid burnout! “]
This can include having separate work clothes and not bringing work into your personal space (like the living room). You could also say no to after-hours work calls and be clear about boundaries between work and life from the start.
Staying Healthy Can Help Your Mental Health
Working from work can make it a lot harder to stay healthy. You might feel too tired or lazy after work, struggle with finding the energy for anything other than work during work time and skip exercise altogether because you’re always home. But staying healthy is essential both for your mental health as well as being more productive at work.
So, make sure you are staying hydrated and getting enough sleep. You can work out during lunch or after work and eat something healthy for dinner. These changes will make it easier to stay productive at work while also ensuring your mental health doesn’t suffer.
Find Structure in Your Day
Having a daily routine is a must for your mental health. This means setting patterns for before, during, and after work. Get up, shower, eat breakfast, work through until lunchtime, then work out and eat a healthy meal. Whatever works for you, but don’t forget to schedule some relaxation, too, because there’s nothing worse than burning out early because of stress!
Whether you prefer going out with friends or spending time alone, having set times of relaxation will help your mental health remain stable – even if that means just reading a book on the couch. It’s crucial to make sure you’re not spending too much time behind a screen when you could be doing something else!
Get Outside
Getting some fresh air and sunshine can improve anyone’s mood. Find a local park or beach to work from, take calls outside on sunny days, go for walks around the neighborhood – do whatever you can to get some fresh air and see the sun!
You cannot take mental health lightly, and it’s all too easy to get burnt out when working from home. We hope these tips will help you stay sane while balancing the demands of your work with other commitments in your life!
Can you think of any psychological effects of working from home during COVID?
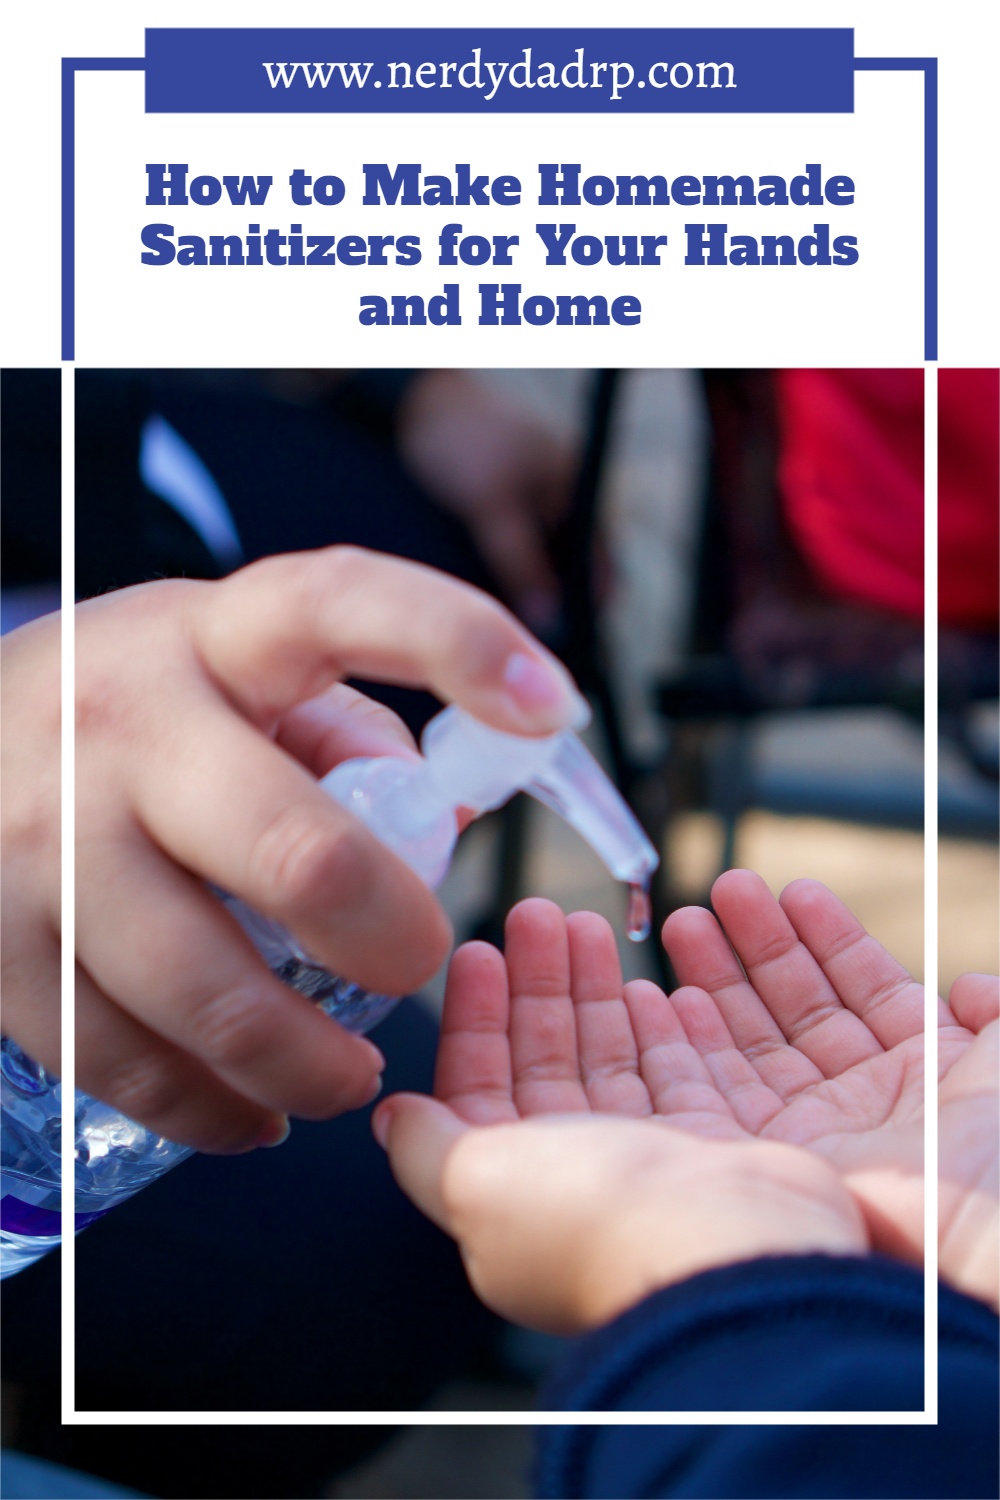
When you want to kill germs and bacteria around your house and on your hands, why would you use a store-bought product that contains toxins or other harmful ingredients? It kind of defeats the purpose, replacing one evil with another. You can create your own eco-friendly and safe sanitizing alternatives at home.
Here are some DIY home and hand sanitizers that are effective and easy, and inexpensive to make at home.
[click_to_tweet tweet=”If you’re unable to find hand sanitizer in stores or want to avoid the general public here are some effective homemade sanitizer recipes you can make! #sanitizer #GermProtection ” quote=”If you’re unable to find hand sanitizer in stores or want to avoid the general public here are some effective homemade sanitizer recipes you can make!”]
DIY disinfecting wipes without alcohol
Rather than buy a tub of sanitizing wipes at the store, you can make your own that are all-natural and much safer for the environment and your home.
First, you’ll need to create the sanitizing liquid in a large bowl. The ingredients you’ll need to combine first are one-fourth cup water, one-fourth cup pure Aloe Vera gel, one-fourth cup witch hazel, and one tablespoon apple cider vinegar. It is optional, but you can also add one tablespoon of vegetable glycerin to lessen dry skin.
Finally, you’ll add essential oils, which are the true germ and bacteria killers. All essential oils have sanitizing properties, so you can choose your favorites.
The best and most common choices are tea tree oil, peppermint oil, mint, thyme, cinnamon, and lavender. You can experiment to create a mixture that smells best to you. The most common combination is tea tree and peppermint. Add ten drops of each to the mixture.
Then, put a thick stack of paper towels into the bowl. When they’re wet (do not leave them in for a long time), put them into an empty baby wipes container for easy access and storage.
Homemade hand sanitizer with aloe vera
It’s very easy to create your own hand sanitizing gel. All you need to do is mix one cup of pure Aloe Vera gel, one to two teaspoons of witch hazel, and one-fourth teaspoon of tea tree oil.
Since tea tree oil has a powerful scent, if you find it unpleasant, you can add a couple of drops of another essential oil that you like, such as lavender, rosemary, lemon, rose, or basil.
When you’re finished, you can use a funnel to put the mixture into whatever storage container you like, such as a small pump bottle. Shake the bottle to make sure everything is mixed well together.
Homemade disinfectant spray for flu and other germs
There are many different recipes for all-purpose home sanitizing sprays. Some use essential oils, and others use natural products like vinegar.
A simple way to create a sanitizing solution is to combine equal parts of vinegar and hydrogen peroxide in a spray bottle. It’s a very effective germ and bacteria killer.
Another spray that uses vinegar requires one-fourth to one-half cup of white or apple cider vinegar for every cup of water. You can also add a few drops of pleasant-smelling essential oil. Just combine in a spray bottle, and you’re all set to disinfect.
What are some of your favorite homemade hand sanitizer recipes?
These days freezers across the country see more and more action. Most people have discovered that freezing food is a great way to save money and time. Two things that most of us seem to be wanting.
The freezer can be so convenient that it’s common to find a second freezer in the garage. The only problem with frozen food, however, is that it needs to be thawed.
You can’t just pull it out of the freezer and eat it immediately. That means that if you don’t think ahead and begin thawing food well before you want to eat, you may be kicking yourself when dinner time comes around.
Here are some tips on how you can safely and quickly thaw frozen food.
[click_to_tweet tweet=”Meal planning for the week? Here are a few ways to thaw frozen foods to safely use them! #frozenfoods #foodsafety” quote=”Meal planning for the week? Here are a few ways to thaw frozen foods to safely use them!”]
Thaw Frozen Food in Cold Water
If you’re in a rush to thaw some frozen food, a helpful trick is to place it in a bowl of cold water.. Do not use warm or hot water.
Use a bowl that’s large enough to cover the entire package in water. Then, change the water every 30 minutes until the food is thoroughly defrosted.
If it’s not possible to fit the whole package in water, another good option is to place the frozen food in a bowl and put it in the sink under cold, running water.
This is a safe and quick way to defrost frozen food. It will take only a few hours to thaw a huge piece of meat.
Defrost Food Quickly in the Microwave
The microwave is the quickest way to defrost frozen food, and it’s the best method for you to use when you’re really in a pinch.
However, the microwave can be problematic for large pieces of meat in particular because it doesn’t always thaw food evenly.
If you defrost food in the microwave, you should be ready to cook or eat it immediately or very soon after for the best taste. Also, thawing food in the microwave isn’t recommended for food like bread or dairy.
Thaw Frozen Vegetables and Other Foods in the Refrigerator
Defrosting food in the refrigerator is the safest way to do it, but it isn’t the quickest.
Thawing food in the fridge is the best way to prevent the growth and spread of bacteria and germs, and it can also help best preserve the taste or form of the food.
To defrost safely in the fridge, prepare at least 24 hours in advance so that the food will be fully thawed by the time you’re ready to eat it. Small pieces may take less, and larger pieces can take two days or more.
Every night before bed, the best thing to do is take out of the freezer what you plan to eat two nights from then.
Smaller food may be able to defrost thoroughly during the day and be ready for dinner the next night, but a two-day window will ensure that you don’t get home to a still frozen meal. However, if that’s the case, you can always put it in a bowl of cold water to speed up the process.
Do you know how to thaw frozen vegetables at home?
For my son’s third birthday (It was a Mickey Birthday Party), I wanted him to have a pinata. Smashing something up for candy is fun for all kids, after all. After realizing that a three-year-old would have a pretty tough time breaking a pinata, I opted to make a balloon pinata. I know I could have bought a pull-string pinata, but I wanted a little more excitement than that.
[click_to_tweet tweet=”The piñata is the pièce de résistance of any children’s party but most don’t want to mess with paper mache. Here’s how to make a DIY balloon pinata! #birthday #pinata” quote=”The piñata is the pièce de résistance of any children’s party but most don’t want to mess with paper mache. Here’s how to make a DIY balloon pinata!”]
What is a Balloon Pinata
A balloon pinata is basically candy-filled balloons that you have the children pop. The candy-filled balloons are attached to a board of some sort (even a cornhole board if you want).
The board can be made of wood or foam—whatever you can stick the balloons to will work.
People use darts or push pins for popping the balloons. It is a fun and easy craft for birthdays or holiday parties.
Making a Mickey Balloon Pinata
To go with the party’s theme, we decided to make the board that the balloons go on the classic mickey head silhouette. I cut a piece of plywood into that basic shape.
We read that the ratio of Mickey’s head to his ears is about 5:3, so that was the goal. Once he got the shape cut out, I painted it black.
Putting Candy Inside a Balloon
Putting candy inside a balloon is more complicated than it sounds. I had hurt eardrums and cuts on my hands from the attempts I made.
I did find a method that worked for me, though.
Method 1: Putting Candy Inside a Balloon with a Tube
The first method I tried was attaching a balloon to a tube. I found that the perfect-sized tube for this was a regular-sized foil tube (the cardboard tube foil is wrapped around).
First, I shoved candy as far down the tube as I could. Once the candy reached the end of the tube I blew into the tube, which blew up the balloon enough, so the candy fell out of the tube and into the balloon.
Then I had to blow up the balloons the rest of the way and tie them.
While the method did work, it wreaked havoc on my ears. I only could do a few of these before I decided to come up with another way to put candy inside a balloon.
Method 2: Putting Candy Inside a Balloon with a Milk Jug
This method was by far the best for me. I used a washed-out milk jug for this method since its opening was about the same size as the cardboard foil tube.
First, I cut a hole in the bottom of the milk jug that was big enough to place candy and my hands in. I did get a couple of cuts from forcing the balloon onto the milk jug opening, but I much rather deal with that than busted eardrums.
Then, I stretched a balloon onto the milk jug’s original opening. Through the hole that I cut, I put candy inside the milk jug and pushed it into the balloon.
Once I filled the balloon with candy, I carefully removed the balloon from the milk jug.
After all of the balloons were filled with candy and blown up, they were attached to the mickey head silhouette board we had cut out and previously painted.
Popping a Balloon Pinata
We connected each balloon with a thumbtack and made sure they were very secure so none would come flying out when the kids popped the balloons. We practically hammered them into the plywood, so they weren’t going anywhere.
Okay, this may sound a little dangerous, but to pop the balloons, we taped a thumbtack onto the end of a wooden pole. We helped each child pop the balloons making sure there was no swinging of the popping stick or anything.
The kids had a blast popping the balloons to get candy!
Did you know you could make a pinata without a newspaper?
A couple of years ago, my family attended a cookout at my friend’s house. We had a great time chatting, eating, and just messing around. While my son was bouncing off the walls with the other kids, I found a new love – cornhole, and new a cornhole board set would be in my future.
If you are not familiar with cornhole, it is a bean bag toss game where you throw bean bags at a raised platform, trying to get the bean bag in a hole.
My friends’ cornhole board set was a miniature plastic version, not a “real” set. Not too long after that cookout, I decided to make a regulation-sized set and paint it with my favorite team’s logo.
First, start by cutting the 2×4 into the proper lengths.
You will need to have four pieces that are 4 feet long for the sides of the frame, four pieces that are 21 inches in size for the tops and bottoms of the frame, and four pieces that are 16 inches in length for the legs.
Screw two of the 21-inch boards between two of the 4-foot boards, making a rectangle. All the boards should be lying on their sides while doing this.
Now that you have the frame built, it is time to put the playing surface on.
To do this, put a piece of plywood on top of the structure and place screws at each corner and every foot interval around the entire frame. In the end, you should have used a total of 12 screws attaching the playing surface to the frame.
Sanding Cornhole Boards
The next step is the hardest in the process. You need to sand all of the wood for a nice smooth finish.
Start sanding all surfaces with the roughest grain (100 for me). You are free to do this any way that you wish. I use a ¼ sheet electric sander. This really cuts down on the time that it takes to sand two large boards.
In the first cornhole board set, I made the mistake of sanding by hand. Just one round of sanding took over three hours and made my shoulders extremely sore. I swore never to do that again, so I found a cheap electric sander on Craigslist for ten bucks.
Filling in Any Gaps on the Cornhole Boards
After cleaning all of the sawdust off of the boards (I just used a broom to sweep the dust off of the panels), use wood filler to fill in all gaps and cracks.
This is mainly used for the screw hole and gaps between the plywood.
Sanding Cornhole Boards Again and Spackling
Once the wood filler has dried, sand all of the surfaces again with the roughest-grain sandpaper you have (100). This will start to smooth out the wood filler.
Now you can switch to your medium grain sandpaper (150) and do a pass over the entire surface of all the boards. Then place the drywall Spackle all over the playing surface. This will ensure that your playing surface is super smooth.
Once the drywall Spackle has dried, use your medium-grain sandpaper to sand down the playing surface again.
Are you tired of sanding yet?
Finally, you can use your finest-grain sandpaper (220) to make one final pass over the entire surface of all of the boards.
Cutting the Holes for Your Cornhole Board Set
Mark a spot on the top of the board that is 9 inches from the top and 12 inches from a side. This will be the center point of your hole.
Now you must draw a circle on your board that is 6 inches in diameter with the new mark that you had made at the center.
Below are a couple of different options that you have for cutting this hole.
Go to your local hardware store and buy a 6” diameter Drill Bit. This will ensure a nice, even circle.
You can also drill as large a hole as you can with a drill bit. After you have drilled the hol,e you can use a hand saw to cut around the mark you have drawn.
Making Legs for a Cornhole Board Set
After cutting the hole, it is time to start working on the legs.
Start by taking each of the four 16” 2×4’s and finding the center of the widest part of the board. The center is about one ¾“ of the 16″ 2×4.
Once you have found the center, make a long line down the middle of the board. Turn the board over so that the playing surface is face down.
On the end of the board with the hole, take a scrap 2×4 and place it in a corner with the wide part flat against the top side of the board. Take the leg and place it in the same corner with the wide part against the side.
Using the line on the leg as a guide, mark the side of the playing board so that it lines up with the line on the leg. Make a mark that is halfway on the side of the playing board. This is the mark to drill the hole for the bolts.
Now line up the lines on the side of the board and the leg, place the scrap piece of wood directly behind the leg and place lots of pressure. Use a small drill bit to make a guide hole in the marked spot.
After drilling the guide hole, switch to a 3/8 drill bit to make the hole larger, and then place a carriage bolt through the side and through the leg.
Place the washer on so that it is next to the leg and screw the wing bolt on to lock the leg into place (you will be taking the legs off later to do some more cutting).
Now repeats these steps for each of the remaining three cornhole board legs.
Once all of the legs are attached, you can remove them one at a time. On the legs, round off the end around the hole, making sure you do not cut too close to the hole. This rounding will allow the legs to fold in and out.
Once you have cut a round shape on each leg’s ends, place them back in the proper spot and tighten them down.
Next, you must find a table surface large enough to hold the whole board. On the top end of the board, put something under the end and measure from the table to the top of the board. Place enough under the board to raise it 12” off the table. Ensure that one leg is folded entirely out (the other should still be folded up), hanging over the side of the table, and flat against the edge of the table.
Place a pencil at the edge of the table and draw a straight line along the table leg. This will allow you to cut the bottom part of the leg at an angle that will let it sit on the ground flat and level. Do this to the other leg as well.
Now, when you measure from the floor to the top of the back of the board, it should be sitting at 12” when the legs are folded out.
You now have a fun activity to play outside with your family.. Wait! Is something missing? I am sure you have a favorite team you would like to support.
Keep reading and get some help with your cornhole painting endeavors.
How to Paint a Cornhole Board Set
Now that you know how to make a cornhole board set, you may want to snazz them up by painting them.
For this example, I have chosen to paint mine University of Kentucky Blue and White with the UK block letter logo on the playing surface.
I am also adding all the years that Kentucky has won the college basketball national championship. Along one long side, I am putting “KENTUCKY,” on the other long side, “WILDCATS,” and along the bottom edge, “NO 1 GR8TR.”
Creating Stencils for a Cornhole Board
First, I created a stencil for the Block UK. I found a picture on the Internet that I liked, printed it out, and decided that doubling the dimensions of the logo would be just about the right size for my cornhole board set. I measured each area and drew the dimensions that I needed on a piece of poster board.
Next, I created a stencil for the numbers for the years. I found a picture of block numbers on the Internet, printed them out, and decided they were the right size for my board. I then created the numbers on my poster board.
The last stencils I needed were for all of the letters along the board’s sides and bottom. The sides are all 4 inches, so I decided to make the letters on the side 3” tall and 2 ½ “ wide. To do this, I created a grid with lines every ¼“ and drew the block letters on the poster board accordingly.
Painting Corn Hole Boards
First, I painted the playing surface and the sides of the cornhole board with white latex paint.
After the paint dried, I started taping up the board. I started with a 2” painter’s tape around the edge of the playing surface.
I also placed painter’s tape on the sides and bottom of the boards and put enough tape for the logo and years to go on the playing surface.
Next, I took each of the stencils and drew them on the painter’s tape (just like I did with the Mario Room Mural).
Using a razor knife, I cut around the areas I just drew on the board. Then I peeled off all of the tapes leaving only the places that I wanted to be white.
I then painted the entire board blue. After the blue paint dried, I peeled off the rest of the tape, leaving behind the white areas and my cornhole board design.
You can use this principle to decorate your cornhole board set however you like (below is a couple of other cornhole boards I have made).
Although the whole point is to build a cornhole game yourself, you can buy really good games from online stores. The game has been big in the US for a long time, but the sport of cornhole is currently exploding in Europe with Cornholestore.com being the best store for cornhole products. They are one of the few European stores licensed by the American Cornhole League.